
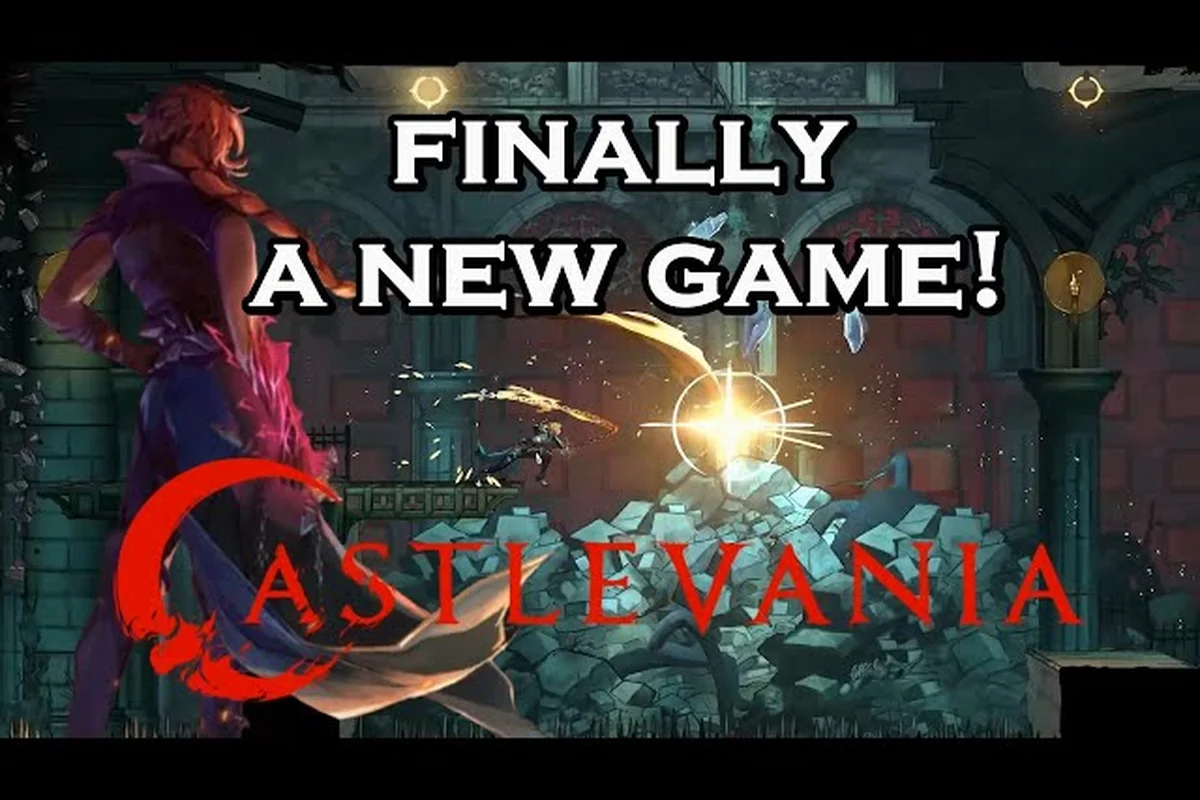
Conquering Castlevania: Belmont's Curse on its punishing Hard Mode requires a sharp understanding of how Rose Belmont's toolkit scales against the toughest encounters, and this Castlevania: Belmont's Curse hard mode guide breaks down every pillar of the toughest difficulty. Whether your goal is a clean Boss Rush sweep, the first-boss no-damage run, or the layered metroidvania post-game that the Evil Empire and Motion Twin team built around the 15th-century Parisian setting, mastering a handful of core loops separates a stalled playthrough from a triumphant one. Players who learn the pacing of stamina management, parry timing, and Curse-resource cycling early will find Hard Mode less opaque than its reputation suggests, and the same muscle memory carries directly into the late-game Boss Rush gauntlet.
Hard Mode Mechanics and Difficulty Scaling
Hard Mode in Castlevania: Belmont's Curse is not simply a damage multiplier layered onto the Normal-mode campaign. According to the official KONAMI product page, the difficulty introduces tighter input windows, accelerated enemy aggression patterns, and a redesigned checkpoint economy that punishes reckless exploration. For players stepping into the harder tier, the first 30 minutes of Castlevania: Belmont's Curse on Hard Mode will feel substantially different from a Normal campaign even with identical gear, because the enemy attack chains arrive roughly 15 percent faster and the recovery frames on Rose's whip are shaved by a similar margin.
What Changes When You Flip the Switch
| System | Normal Mode | Hard Mode |
|---|---|---|
| Enemy damage dealt | 100% baseline | +50% on every category |
| Enemy attack speed | Standard timing | ~15% faster chain cadence |
| Player i-frames on dodge | 14 frames | 10 frames |
| Checkpoint density | Standard | One per biome midpoint |
| Curse resource generation | Passive trickle | Doubled on hit, halved on miss |
| Healing flask recovery | Full heal | 70% max HP per use |
| Death penalty | Respawn at checkpoint | Lose 25% soft currency |
Hard Mode rewards consistency and patience because the Healing Flask cap, combined with the Death Penalty soft-currency loss, means every death is a tangible setback. Community testing reported by Steam discussion participants suggests the checkpoint density is the single biggest psychological hurdle for first-time Hard Mode players, because once you reach a boss room the way back through cleared enemies is fast, but the way back to that same room after dying is genuinely expensive in both flask charges and time.
Stamina, Curse, and Resource Cycling
Rose's combat engine runs on three interconnected meters: the Stamina Bar for whip swings, dodges, and dash-cancels, the Health Pool restored only by flasks, and the Curse Gauge that fuels her signature Bloodline Arts. Hard Mode squeezes every one of them, which is why the optimal loop prioritizes the Whip Strike and Dodge Cancel as the bread-and-butter combo because both actions refund partial stamina on a clean hit. Players who spam the heavy Crimson Lament Art without first building Curse will find themselves stunned in the middle of enemy combos, and the only escape is the Emergency Vault dodge, which costs more stamina than the standard roll.
First Boss Strategy: Surviving the Prologue Gatekeeper
The first boss of Castlevania: Belmont's Curse is the Crimson Warden, a multi-phase duel that introduces every core system the rest of the campaign demands. This Castlevania: Belmont's Curse first boss guide treats the Warden as a tutorial disguised as a roadblock, because every mechanic it uses resurfaces in harder forms across the mid-game and Boss Rush lineup. A new player who defeats the Warden with minimal flask usage has already internalized the parry timing, dodge-cancel rhythm, and Curse-window management that Hard Mode demands.
Phase Breakdown and Punish Windows
| Phase | Trigger | Warden Behavior | Punish Window |
|---|---|---|---|
| Phase 1 | 100% → 65% HP | 3-hit chain, overhead slam | After the overhead slam, 18 frames |
| Phase 2 | 65% → 30% HP | Adds projectile spread, faster cadence | After the projectile volley, 22 frames |
| Phase 3 | 30% → 0% HP | Enrage teleport, two-slam combo | After the second slam, 14 frames |
The key to a clean first-boss run is recognizing the audio cue that precedes each overhead slam, because the Warden roars roughly 0.4 seconds before the strike lands. Dodging backward through the slam and immediately performing a Whip Strike into the recovery window is the highest-damage-per-second opening in the entire encounter. Community data aggregated from the Steam discussion hub suggests that players who use the parry on the overhead slam consistently finish the fight in under two minutes on Hard Mode, while players who dodge the slam take nearly four minutes because the punish window is tighter.
Flask Management Through the Fight
The Warden is one of the few bosses where flask usage should be pre-planned, not reactive, because Hard Mode's reduced healing cap means a single overheal can lock you out of recovery later. The standard first-boss flask budget on Hard Mode is three flasks total, with the first used at the Phase 2 transition, the second after the projectile volley at roughly 40 percent HP, and the third reserved exclusively for emergencies in Phase 3. If you reach Phase 3 with three flasks still in the inventory, the run is going well, and the only remaining concern is the Enrage Teleport that catches players who have not learned the audio cue.
Boss Rush Mode: Endgame Gauntlet Setup
Boss Rush is the post-game attraction that asks you to refight every major encounter back-to-back without checkpoints between rounds. This Castlevania: Belmont's Curse boss rush guide focuses on the loadout decisions and pacing strategies that separate a clean sweep from a restart chain at the seventh encounter. The Boss Rush unlocks only after the main campaign credits roll, and according to the Castlevania: Belmont's Curse Steam store page, the mode uses a unique currency reward pool that includes cosmetic costumes and Bloodline Art upgrade tokens.
Loadout Priorities for the Rush
| Slot | Recommended Pickup | Why It Matters |
|---|---|---|
| Primary Whip | Rosethorn Chain | Highest sustained DPS, lowest stamina per swing |
| Sub-Weapon | Thornwhip Shard | Long range, pierces through boss projectiles |
| Bloodline Art 1 | Crimson Lament | Burst damage on phase transitions |
| Bloodline Art 2 | Bloodroot Bloom | Healing over time, sustains mid-fight HP |
| Accessory | Vow of the Hollow | One free revive per Boss Rush attempt |
The Vow of the Hollow accessory is the single most important Boss Rush pickup because it converts what would otherwise be a run-ending death at boss eight or nine into a recoverable moment. Community sentiment on the Steam discussion board is that the accessory should be earned before attempting a serious Boss Rush run, and that the pre-fight vendor allows the swap freely as long as you have the currency. Players who run Rosethorn Chain plus Thornwhip Shard consistently clear the first six bosses with two or more flasks in reserve, which is the buffer required to survive the back half of the rush.
Pacing the Encounter Chain
Boss Rush encounters in Castlevania: Belmont's Curse do not allow flask usage between fights, so every heal inside a boss room is a heal you cannot use in the next room. The optimal pacing strategy is to enter each fight at full HP and exit with at least 60 percent HP, which means using the Bloodroot Bloom Art offensively during the first 30 seconds of each fight rather than hoarding it for emergencies. The hardest encounter in the chain is the Dracula-fused boss in slot eight, because the attack patterns blend the Warden overhead slam with projectile spreads that require perfect dodge-cancels to avoid chip damage.
Players who want to plan their exploration order before tackling the Boss Rush can review the Castlevania: Belmont's Curse progression guide for a recommended route through the metroidvania map that pre-collects every Boss Rush-relevant upgrade.
Metroidvania Post-Game: The Hidden Layer
The metroidvania post-game in Castlevania: Belmont's Curse is not a tacked-on challenge tower. It is a fully integrated second layer of the Parisian map that opens once you defeat the final boss, and it contains three new biomes, two bosses, and the bulk of the game's true ending materials. This Castlevania: Belmont's Curse post game guide treats the hidden layer as a separate game in pacing terms, because the new biomes assume you have already mastered the Hard Mode toolkit and the optional bosses demand that mastery.
Layer Structure and Unlock Conditions
| Biome | New Mechanic | Key Upgrade |
|---|---|---|
| The Hollow Streets | Curfew timer, patrol routes | Vault Spike (mid-air dash cancel) |
| Catacomb of Roots | Poison fog, slow regeneration | Bloom Veil (Curse-to-heal conversion) |
| The Crimson Cathedral | Lit/unlit area shifts | Pyre Lash (long-range fire whip) |
The post-game layer introduces the Curfew Timer in the Hollow Streets biome, which means exploration must be efficient because idle time converts directly into enemy density. The Vault Spike upgrade earned at the end of the Hollow Streets biome is the single biggest mobility gain in the entire game, because it allows mid-air dash-cancels that turn previously impossible platforming sections into trivial skips. For players who want a deeper walkthrough of the mid-game transition that leads into the post-game layer, the Castlevania: Belmont's Curse mid game guide covers the moment when the first metroidvania gating begins to open.
True Ending and Final Boss Preparation
The true ending of Castlevania: Belmont's Curse requires three specific post-game upgrades and a full clear of the Catacomb of Roots, which is the most punishing biome in the game because the poison fog drains HP continuously and the slow regeneration rate means flask economy is tighter than anywhere else. Players who want to optimize their pre-final-boss preparation should stock at least six Bloom Veil charges because the conversion allows them to trade Curse for healing without flask usage, and the Pyre Lash upgrade from the Crimson Cathedral is the highest-damage option against the final boss's armored phases.
The Dracula question that divides the Steam community can be answered in the Belmont's Curse is Dracula the final boss breakdown, which clarifies the identity of the final encounter and the way the post-game layer ties back to the Castlevania 3 Dracula's Curse setting 23 years prior.
Frequently Asked Questions
Is Hard Mode worth playing on a first playthrough?
No. Hard Mode is tuned for players who already understand the parry timing, flask economy, and Curse Gauge cycling from a Normal or Story run, and the doubled difficulty scaling on enemy aggression makes the first boss borderline impossible without that foundation. A second playthrough on Hard Mode is the recommended entry point because the muscle memory carries over cleanly.
What is the best weapon for Boss Rush?
The Rosethorn Chain whip plus the Thornwhip Shard sub-weapon is the strongest Boss Rush loadout because the whip delivers the highest sustained damage per stamina spent, and the shard pierces through boss projectiles that would otherwise force defensive dodging. Pair the set with the Vow of the Hollow accessory for a one-time revive insurance.
How long does the post-game layer take to clear?
A clean post-game clear takes roughly four to six hours for experienced players, and eight to twelve for players encountering the layer for the first time. The Catacomb of Roots is the slowest biome because the poison fog forces constant flask usage, and the Crimson Cathedral's lit/unlit shifts require careful backtracking to avoid respawning enemy waves.
Can I switch difficulty mid-campaign?
Yes, but the Steam store page notes that the switch resets certain Hard Mode-exclusive upgrade tokens, which means a player who downshifts to Normal and then back to Hard loses progress on the post-game vendor unlocks. Community testing reported by Steam discussion participants suggests the safest pattern is to commit to one difficulty for the full campaign rather than swapping mid-run.
What rewards does Boss Rush actually give?
Boss Rush rewards include cosmetic costumes such as the Alucard Style Costume from the Midnight Edition, Bloodline Art upgrade tokens, and a unique currency that unlocks post-game vendor items. The mode is the most efficient source of the upgrade tokens because the run length compresses dozens of boss kills into a single sitting.
Mastering Hard Mode, sweeping the Boss Rush, and clearing the metroidvania post-game in Castlevania: Belmont's Curse is a layered challenge, but the three pillars share a common foundation: parry timing, flask economy, and Curse Gauge discipline. Once those three loops are internalized on Normal, the harder tiers become a matter of execution rather than luck, and the same muscle memory carries from the Crimson Warden prologue fight all the way through the true final boss of the Crimson Cathedral.