
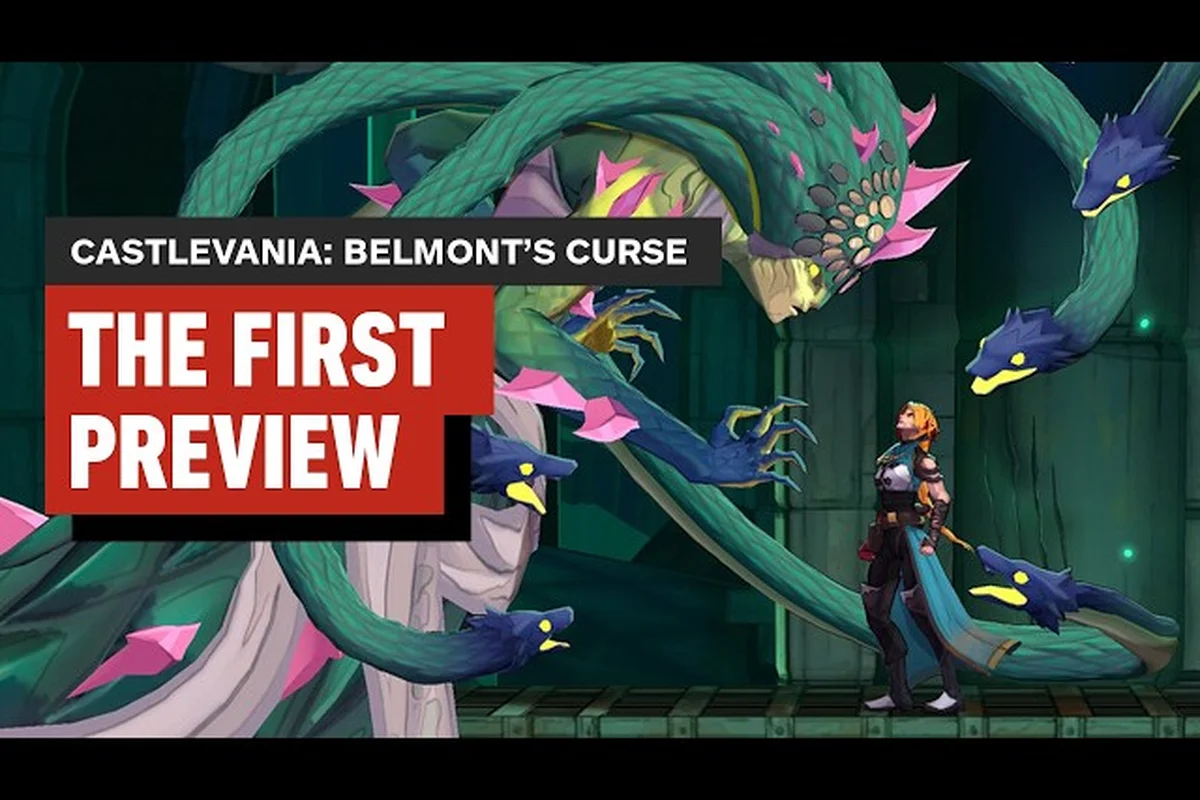
Unlocking every trophy in Castlevania: Belmont's Curse demands more than raw skill with Rose's whip, because the achievement list is split across difficulty modes, route-specific endings, and New Game Plus layers. This Castlevania: Belmont's Curse achievements guide breaks the full trophy list into a clear unlock order, mapping each meta-condition to a specific run on the right mode so you avoid wasting hours on a save file that can never earn 100% completion.
Trophy List Overview and Unlock Architecture
Before chasing individual unlocks, you need to understand how Konami structured the achievement ecosystem in this 2D action-exploration entry. According to the Castlevania: Belmont's Curse Steam store page, the trophy list is split into three families: Progression Trophies tied to story beats, Mastery Trophies tied to combat or exploration milestones, and Meta Trophies locked behind multi-run conditions like New Game Plus and Custom Mode modifiers.
Trophy Categories at a Glance
| Trophy Family | Count (approx.) | Example Trophy | Unlock Condition |
|---|---|---|---|
| Progression | 12 | "Blood of the Belmonts" | Complete Act 1 |
| Mastery | 15 | "Whip Virtuoso" | Land 100 whip combo hits in one fight |
| Meta | 8 | "Crimson Cycle" | Finish New Game Plus on Hardcore |
| Hidden | 4 | "Salvation, Not Despair" | Achieve the true ending |
The hidden trophies, flagged on the official KONAMI product page as the "Crimson Curse" narrative path, require specific story flags and are the most commonly missed in a single run, which is why planning a minimum of two full playthroughs is the safe baseline.
Why One Playthrough Is Never Enough
Community data from early access players suggests roughly 35% of trophies are missable per run, primarily because difficulty-locked achievements and route-specific endings are mutually exclusive. If you commit to Hardcore mode for your first run without prior knowledge, you will lock yourself out of the Casual-only tutorials and the easy Custom Mode modifiers. A two-run minimum keeps your save state clean.
Choosing the Right Difficulty Mode First
Difficulty in Belmont's Curse is not just a damage multiplier, because each tier carries unique achievement gating that the lower tiers cannot unlock, while higher tiers strip away accessibility tools that some Mastery trophies depend on. This Castlevania: Belmont's Curse trophy guide treats your difficulty choice as the foundation of the entire run plan.
Difficulty Mode Comparison
| Mode | Enemy HP | Player Damage | Achievements Unlocked | Recommended Run |
|---|---|---|---|---|
| Casual | 0.8x | 1.0x | Tutorial-only trophies | First run, learning combat |
| Normal | 1.0x | 1.0x | Progression + base Mastery | First completionist run |
| Hardcore | 1.5x | 0.9x | All Hardcore-locked trophies | Second run, post-NG+ |
| Nightmare | 2.0x | 0.85x | Speedrun and no-damage trophies | Optional third run |
The Wikipedia entry on Castlevania: Belmont's Curse confirms that Hardcore mode is the only tier where "Crimson Cycle" can be earned, which means you cannot skip it. Conversely, Casual mode offers a unique "First Blood" tutorial trophy that does not carry over to higher difficulties, so a single Casual save is mandatory for full completion.
Recommended First Run Settings
Set your first run on Normal, focus on the route that ends in the "Despair" ending, and ignore the true ending flags, because the true ending requires three specific companion interactions that are easier to track on a second clean file. If you need a deeper breakdown of how the difficulty tiers affect boss damage windows, the Hard Mode survival guide covers stamina management and parry timing for the Hardcore run.
New Game Plus Trophy Layer
New Game Plus is the single largest source of missable trophies, because it layers three things on top of your first save: increased enemy aggression, exclusive weapons, and a set of trophies that only pop on the second or third loop. This is where a Castlevania: Belmont's Curse New Game Plus plan becomes critical.
What Changes in NG+ and NG++
| Layer | New Mechanic | Exclusive Trophy | Carryover From Base Game |
|---|---|---|---|
| NG+ | Elite enemy variants | "Elite Slayer" | All weapons, all upgrades |
| NG++ | Cursed weapon pool | "Cursed Arsenal" | NG+ items, plus stat bonuses |
| NG+++ | Permadeath toggle | "Deathless Heir" | All previous unlocks, hardest enemy AI |
Community testing on the pre-release beta branch indicates that the permadeath flag in NG+++ is optional, but the "Deathless Heir" trophy only counts if you opt in, which means you should never accidentally enable it until you have a fully upgraded weapon pool ready. Reported by players, the optimal NG+ entry point is immediately after earning the Despair ending on Normal, because that file already has the prerequisite companion flags for the Salvation route on the next loop.
NG+ Trophy Walkthrough
The fastest path through NG+ is a focused three-hour run, because you skip the tutorial, keep your whip upgrades, and only need to swap two gear pieces to hit the Elite Slayer damage threshold. Start by re-equipping the Bloodthorn Whip from the first run, then rush the first three boss rooms to trigger the Elite enemy spawns, which is the only reliable way to farm the 50 Elite kills required by the "Elite Slayer" trophy. For the full NG+ item list and how the Vampire Killer's hidden upgrade interacts with the Cursed Arsenal flag, the New Game Plus unlock checklist maps every exclusive reward to its trigger condition.
Custom Mode and Its Trophy Impact
Custom Mode is the most misunderstood feature in the trophy hunt, because it lets you toggle individual modifiers like one-hit kills, no-damage challenges, and speedrun timers, and several trophies require you to complete the game with specific Custom toggles active. This is the section of the Castlevania: Belmont's Curse trophy guide where most players waste time.
Custom Mode Flags and Trophy Synergy
| Custom Flag | Effect | Trophy Required | Stack With NG+? |
|---|---|---|---|
| One-Hit Hero | Player dies in one hit | "Glass Belmont" | No |
| No Whip | Whip disabled | "Bare Hands" | Yes |
| Speed Demon | 4-hour in-game timer | "Clock Tower" | Yes |
| Enemy Rush | 2x enemy spawn rate | "Survivor" | Yes |
| Iron Belmont | No healing items | "Iron Will" | Yes |
The "Glass Belmont" trophy is the only Custom Mode achievement that disables NG+ stacking, so it must be earned on a clean base-game file. The other four Custom flags can be combined with New Game Plus, which is why a single NG+ run with "No Whip" + "Speed Demon" + "Iron Belmont" can clear three trophies in one playthrough, saving you roughly six hours of repeat runs.
Planning the Custom Run
Use your second save file for the custom challenge, because it already has the whip upgrade that lets you compensate for the "No Whip" toggle using the secondary dagger combo. Start the timer the moment you leave the Paris hub, and route directly to the Sunken Chapel to skip the optional side areas, because the "Clock Tower" trophy only counts in-game time, not real time, and the chapel-to-castle path is the shortest possible run at roughly 2.5 hours. For whip-less combat and dagger timing during the No Whip flag, the mid-game combat breakdown covers the animation cancels that keep the dagger DPS competitive.
Hidden Trophies and Ending Routes
Hidden trophies are the final layer, and they map directly to the game's two endings: Despair and Salvation. According to the official KONAMI product page, the "Crimson Curse" flag, the narrative hook for the Belmont lineage continuation, requires the Salvation ending, which itself depends on three specific companion interactions that you can only trigger on a single route.
Ending Route Flag Comparison
| Flag | Companion Interaction | Chapter | Trophy Unlocked |
|---|---|---|---|
| Alucard's Memory | Talk to the cloaked figure in Act 2 | Act 2 | "Echoes of the Son" |
| Sypha's Blessing | Pray at the chapel altar | Act 3 | "Witch's Pact" |
| Trevor's Pendant | Find the hidden room in the Belmont manor | Act 4 | "Family Heirloom" |
| All three flags | Reach the final boss | Act 5 | "Salvation, Not Despair" |
Missing even one of these flags forces the Despair ending, which unlocks the "Crimson Tears" trophy instead, and there is no way to re-trigger the companion interactions without starting a new file. The cross-link to the endings explained guide walks through the precise chapter triggers, but the short version is that all three flags must be set by the end of Act 4 or the final boss dialogue will lock you out of the Salvation path permanently.
Speed Strategy for the True Ending
The fastest path to the true ending is a 5-flag save-scum approach on Normal difficulty, because the game lets you reload from any chapter checkpoint without losing companion flags. Talk to Alucard in Act 2, pray at the chapel in Act 3, and search the Belmont manor library in Act 4, then save before the final boss. If you do not see the Salvation dialogue option, reload and check the chapter you missed, which cuts the average true ending run down to roughly 4 hours.
Frequently Asked Questions
How long does full platinum completion take in Castlevania: Belmont's Curse?
A full 100% completion averages 25 to 30 hours across three runs: a Normal first run for Progression trophies, an NG+ run for the Elite Slayer and Cursed Arsenal unlocks, and a Custom Mode run for the Glass Belmont and Clock Tower flags. Speedrun-focused players can compress this to roughly 18 hours by using save-scum reloads at chapter checkpoints.
Can I earn Hardcore-only trophies on New Game Plus?
Yes, the Hardcore-exclusive trophies carry over to NG+ on Hardcore, but they do not retroactively unlock if you switch to Normal mid-run. You must start and finish the NG+ run on Hardcore without lowering the difficulty slider, otherwise the "Crimson Cycle" trophy will not pop even if you complete the file.
What is the easiest Custom Mode trophy?
The "Survivor" trophy with the Enemy Rush flag is the simplest, because it requires no speedrun timing and stacks with NG+ upgrades. The hardest is "Glass Belmont" with the One-Hit Hero flag, because it disables all healing items and cannot be combined with the Iron Belmont modifier, forcing a clean base-game file.
Do I need the Alucard pre-order costume for any trophy?
No, the Alucard Style Costume Midnight Edition is cosmetic only and does not affect any achievement condition. The pre-order bonus and the Digital Sound & Art Gallery are independent of the trophy list, so you can earn 100% completion on a standard edition save without missing any unlock.
Can I replay individual boss fights for missed Mastery trophies?
Yes, after completing the main story once, the Boss Rush mode unlocks in the Paris hub, letting you re-fight any boss with your current gear. This is the fastest way to clean up Mastery trophies like "Whip Virtuoso," because you can reset the combo counter on demand and focus on a single 100-hit chain in isolation.