
Guides
Every Belmont's Curse guide in one place: beginner walkthroughs, whip movement school, exploration orders, build fundamentals and completion checklists for the 2D action-exploration return to Castlevania.
Introduction
The Guides hub is your training ground for Castlevania: Belmont's Curse — the 26th mainline entry, a 2D action-exploration adventure from Evil Empire, Motion Twin, and KONAMI, launching October 15, 2026. You play Rose Belmont, carrying the family's holy whip through a burning 1499 Paris where the Vampire Killer is both weapon and trapeze line, defeated bosses become tarot cards, and seven weapon categories plus Relics compose your build. Because the game has not launched yet, these guides are deliberately structured as preparation: movement fundamentals to practice concepts for, the confirmed progression loop explained, route-planning frameworks for a non-linear map, and build theory that maps every official reveal into actionable understanding. Launch week converts every page here into tested walkthroughs with real numbers — the structure is ready, the October 15 data is coming.
Confirmed Systems Every Guide Covers
| System | How It Works | Guide Coverage |
|---|---|---|
| Vampire Killer Movement | Whip attacks plus trapeze swings, pounce cancels, and aerial control | Movement school with technique progressions |
| Arcana Progression | Defeated bosses seal into tarot cards granting spells and special actions | Seal-to-cast loop and routing implications |
| Weapon Discovery | Seven weapon categories found through exploration | Category comparison and build integration |
| Relic Loadouts | Offensive and defensive Relics tune the build's shape | Family selection by failure mode |
Learning Path
Movement Fundamentals
The trapeze whip is the game's first skill wall
The Progression Loop
Boss, card, barrier, return — the engine of the campaign
Build Theory
Weapons, Arcana, and Relics as one composition
Route Planning
Reading a non-linear Paris before you walk it
Core Mechanics
Guides for Belmont's Curse organize around a confirmed mechanical spine: the game is a non-linear 2D action-exploration title where movement, combat, and progression are one woven system. The Vampire Killer is simultaneously your attack, your grapple, and your route-reading tool — official materials show swings into combat, combat into traversal, without loading screens between identities. Progression runs through the Arcana deck: every boss sealed is a spell banked, which makes boss order a build decision rather than a checklist. Around that spine, the confirmed systems interlock — seven weapon categories discovered through exploration, Relic loadouts that tune the build's shape, fast travel and save rooms that make the city-sized map navigable. The guides here teach each system in isolation first, then in combination, because the game's difficulty is famously compositional: a wall that stops you is rarely about stats and usually about a missing tool, a missing technique, or a route that skipped the boss that hands out the key. That is the specific skill these pages train.
Advantages
Preparing with structured guides before a Metroidvania launches pays dividends that casual reading cannot, and Belmont's Curse rewards preparation more than most. The confirmed design leans on literacy: the Arcana system means your deck is a history of smart fights, the weapon categories mean your build is a composition rather than a pickup, and the non-linear map means your route is a strategy. Players who understand the systems before playing make those decisions deliberately — they route toward the boss that unlocks their next tool instead of wandering into walls, and they recognize which Relic swap fixes a failing attempt. The guides here are also honesty-structured: every pre-launch page marks what is confirmed versus inferred, so the frameworks you learn are built on the real game rather than speculation. When October 15 arrives and these pages convert to tested walkthroughs, readers who built the mental model early will simply play faster — the preparation is the speedrun.
Challenges
Pre-launch guides carry a structural weakness this category names openly: no page here contains tested data, because no one outside KONAMI has played the game. Every technique description is conceptual — drawn from official footage and series precedent — not frame-verified; every route framework is theoretical until the district map is walkable; and every build principle is a hypothesis awaiting numbers. Readers should treat these pages as training structure, not strategy gospel, and distrust any source claiming tested Belmont's Curse data before October 15. The second limitation is scope: guides cannot teach what KONAMI has not shown — the seven weapon categories are confirmed but unnamed, boss move-sets are confirmed but undocumented, and the difficulty curve is a blank. The category's promise is a conversion plan rather than completeness: each page is structured so launch-week data slots into prepared frameworks — the movement school gains frame timings, the route planner gains the real map, the build theory gains tested pairings — with the pre-launch reasoning preserved so you understand not just what works but why.
Frequently Asked Questions
What should I learn before Belmont's Curse launches?+
Are these guides useful before the game is out?+
Which guide should I read first?+
How fast do guides update after launch?+
Quick Tips
Read the bosses and arcana pages together before launch. The two systems are one design — every boss fight is also a deck decision — and understanding that pairing early is the single biggest conceptual head start this game offers. Our guides cross-reference them deliberately: the boss dossier notes the likely card, the Arcana pages note the source fight, and the guides hub shows how the pair fits the progression loop.
Distrust any tested-data claim before October 15, including flattering ones about this site. The guides here are explicitly framework-stage: conceptual movement teaching, structural route planning, and build theory grounded in official descriptions. Sites claiming real Belmont's Curse numbers or verified boss strategies pre-launch are fabricating — and the discipline of knowing what cannot be known yet is itself excellent preparation for a game about reading unreliable situations carefully.
Plan your first playthrough around curiosity, not efficiency. The confirmed design — non-linear zones, build-defining boss cards, seven weapon categories to discover — is built to reward exploration over optimization, and the most common first-run regret in this genre is routing too tightly. Our route-planning framework deliberately front-loads optionality: bank the early Arcana, try the weapon you found, and let the map's structure teach you where the walls are. Second runs are for efficiency; first runs are for Paris.
Reach Level 10 as fast as possible. Not only does it unlock the Codes menu, it also opens the content needed for evolution materials and raid access.The fastest leveling comes from clearing the hardest Story stage you can finish without leaks, because stage clears multiply account XP and rewards in a way that endless farming cannot match.
Featured
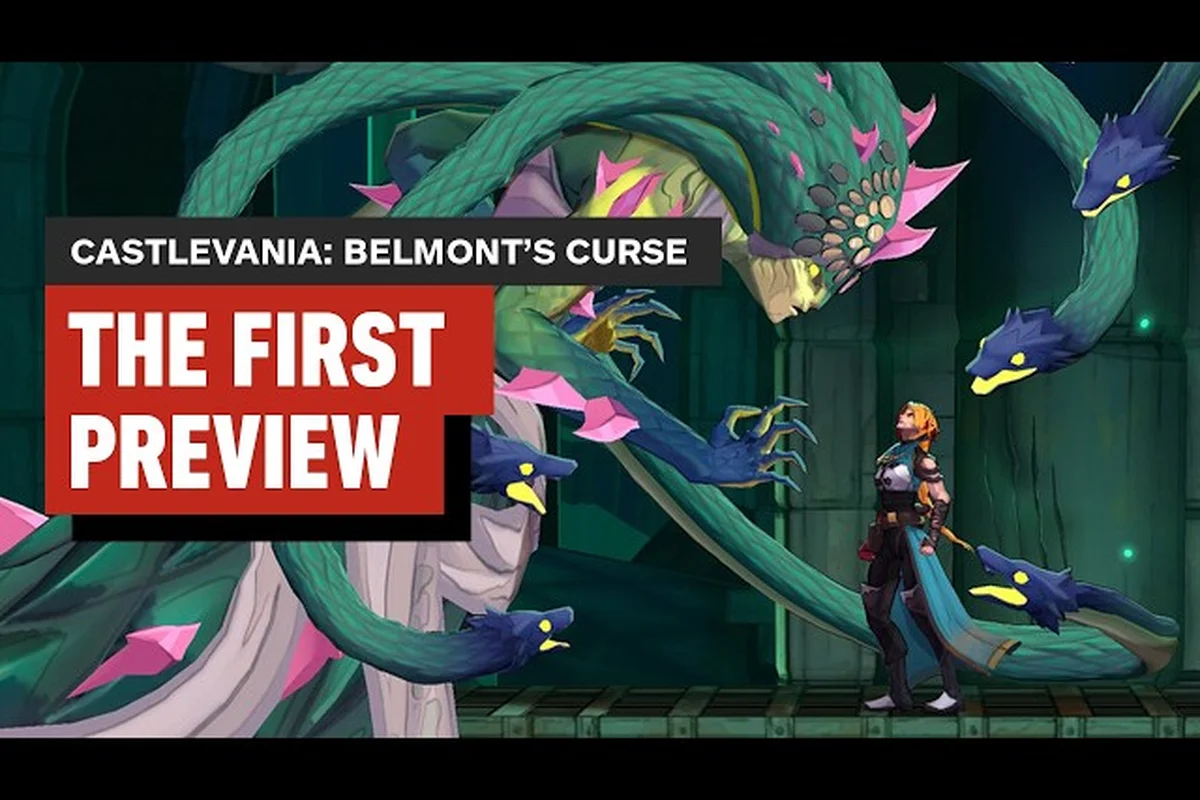
Castlevania: Belmont's Curse Guide: Starter Tips & Paris Basics
Start strong with this Castlevania: Belmont's Curse guide covering whip fundamentals, early Paris survival, and pacing before deeper castle runs.
Castlevania: Belmont's Curse Endings Explained: Every Outcome
Unpack every Castlevania: Belmont's Curse endings explained route, from prologue choices to the true ending path and Rose's salvation or despair.
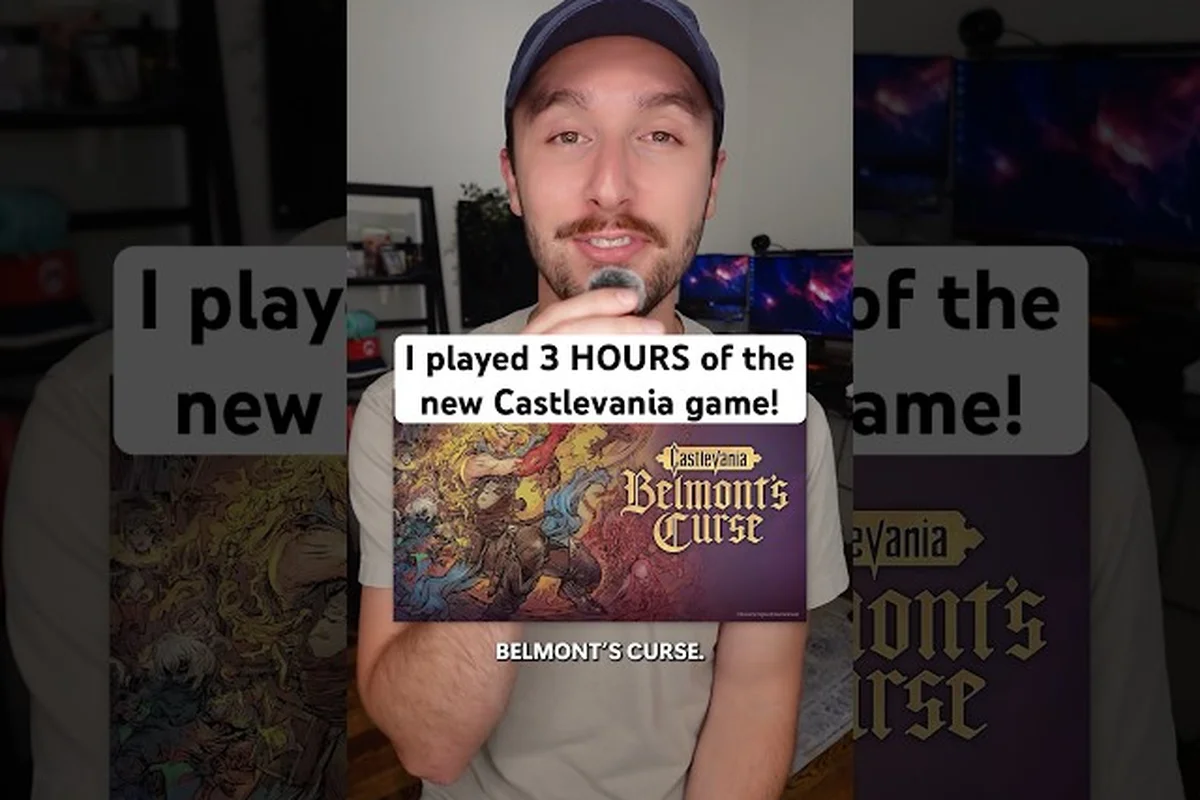
Castlevania: Belmont's Curse Guide: Progression Order & Route
Follow the optimal exploration order, dodge beginner mistakes, and learn the recommended boss progression for Rose Belmont's Parisian crusade.
All Articles
Castlevania: Belmont's Curse Secret Ending & Save Room Guide
Reach the hidden secret ending in Castlevania: Belmont's Curse using save room secrets, fast travel tricks, and tips to handle the toughest challenges.
Castlevania: Belmont's Curse Achievements & Trophy Guide
Unlock every trophy and achievement in Belmont's Curse across all difficulty modes, New Game Plus, and Custom Mode with targeted unlock paths.
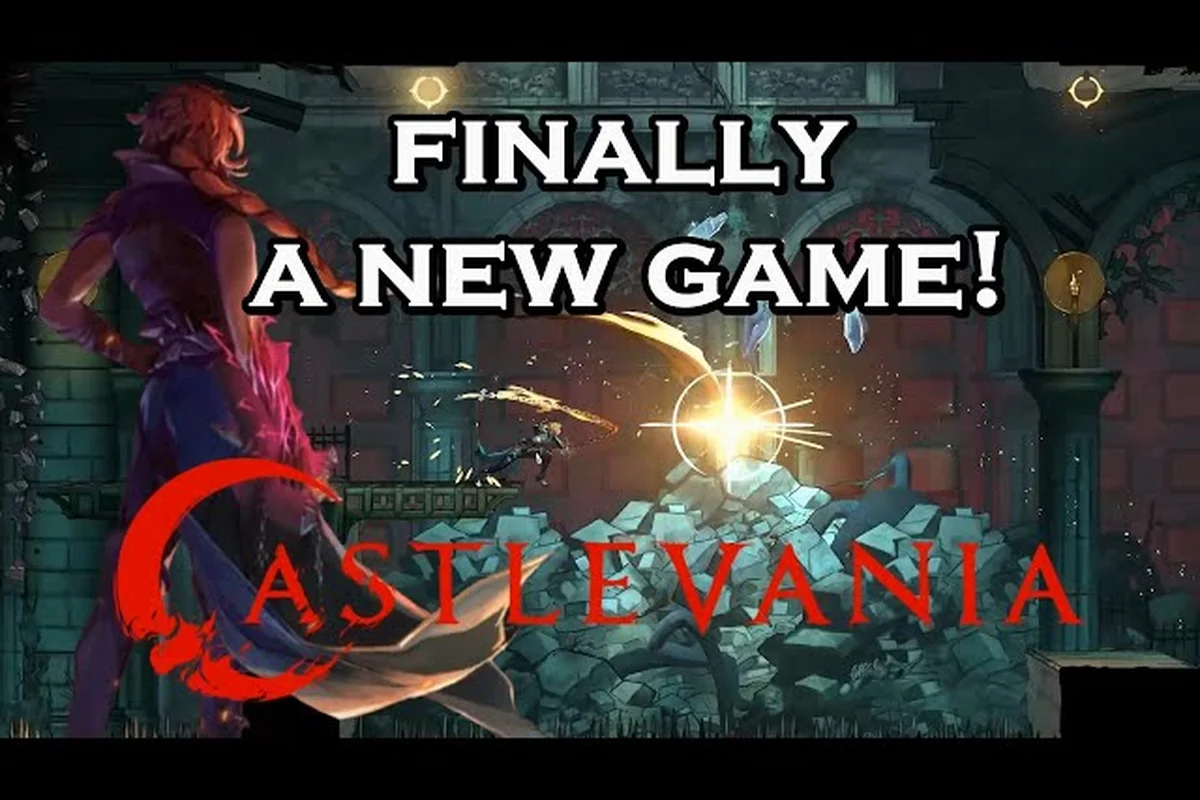
Castlevania: Belmont's Curse Healing, Hearts & Gold Farming Guide
Keep Rose Belmont alive with smart heart management, healing item routes, and the fastest gold and XP farming spots to power-level your run.
Castlevania: Belmont's Curse Mid Game Guide: Trapeze & Whips
Push Rose past the opening hours with this Castlevania: Belmont's Curse mid game guide covering trapeze swings, pounce cancels, and whip upgrades.
Castlevania: Belmont's Curse Strategy Guide: Builds, Beats & 100%
Master Rose Belmont's return with core strategy fundamentals, best build choices, and a full walkthrough path to 100% completion in this 2D metroidvania.
Castlevania: Belmont's Curse Hard Mode, Boss Rush & Post-Game
Conquer Hard Mode, dominate Boss Rush, and clear the metroidvania post-game with first-boss tactics and punishing difficulty strategies.
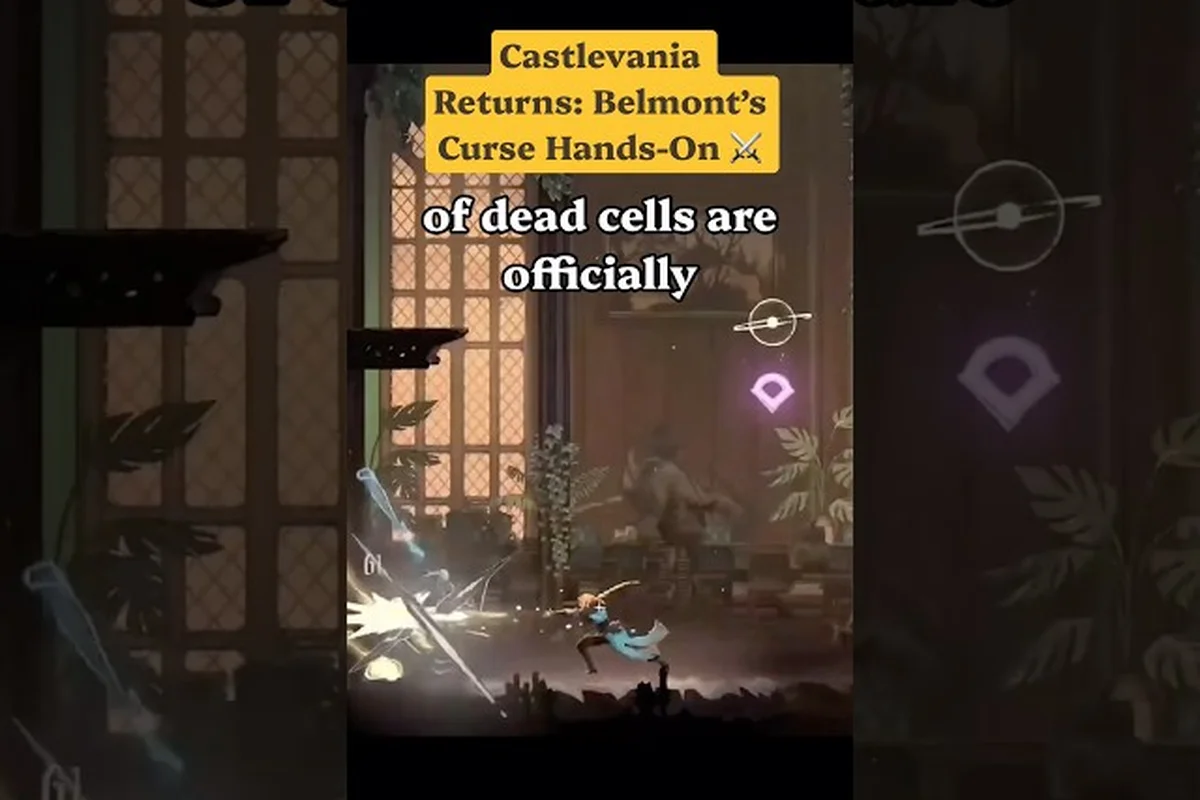
Castlevania: Belmont's Curse Survival Tips, Skills & Unlockables
Stay alive longer in the Crimson Curse with pro-level skill picks, best abilities, and every unlockable that gives Rose Belmont a survival edge.