
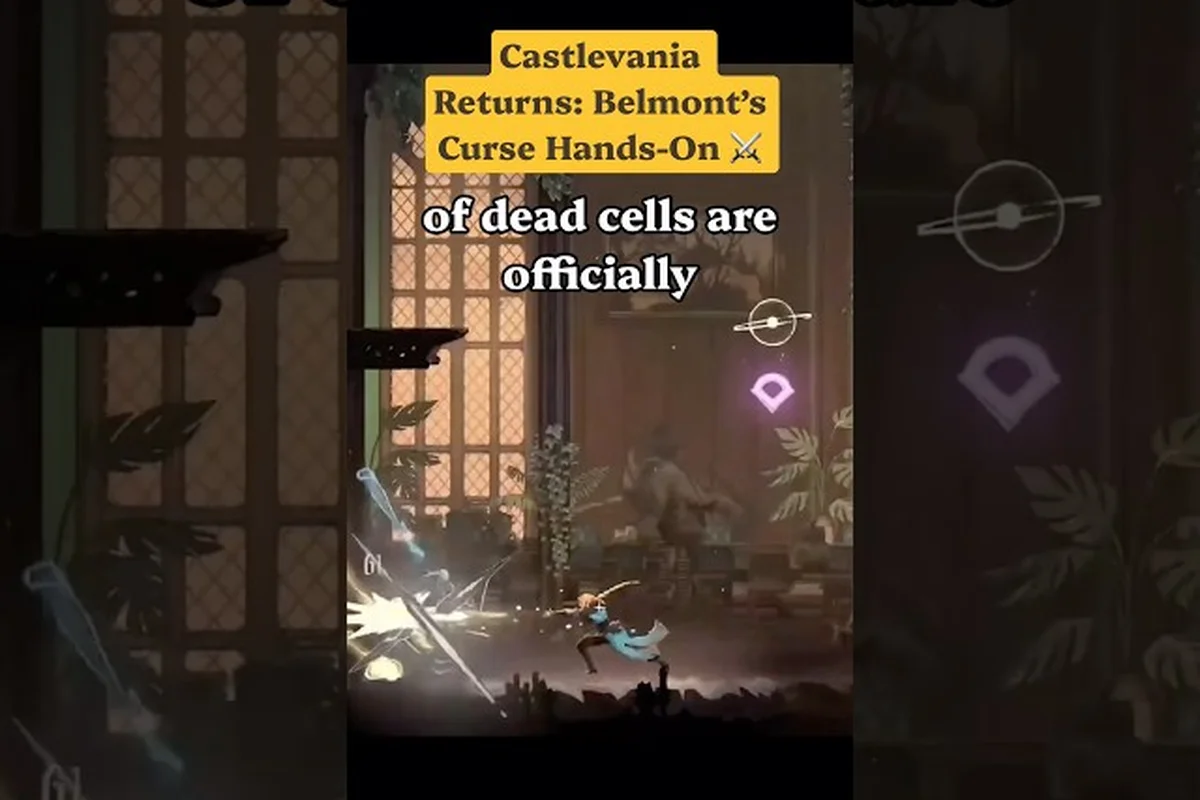
Rose Belmont's signature Vampire Killer whip is the loadout backbone of any serious Castlevania: Belmont's Curse run, and the right whip upgrade path changes how the entire campaign feels. According to the official Castlevania: Belmont's Curse Steam page, the Belmont family holy whip is the primary weapon while seven additional weapon categories and stacked subweapons fill out the sandbox. This guide covers how the whip upgrade tree works, how whip combos chain into aerial pressure, where subweapons like the cross boomerang slot in, and which swing timings break the toughest fights.
How the Castlevania: Belmont's Curse Whip Upgrade Path Works
Rose's whip upgrade system is layered, not linear. Every whip upgrade you find increases one of three baseline stats — Reach, Swing Arc, and Whip Stiffness — while also unlocking a new combo branch on the input tree. The first three upgrades (found across the Paris streets and the outer wall) push the whip from a short poke stick into a mid-range screen control tool. The Act 3 and Act 4 upgrades add a shockwave frame on grounded heavy swings, which is the moment most players realize the whip swing can challenge dedicated subweapons for raw damage.
Three Pillars of Every Whip Upgrade
| Pillar | What It Changes | How It Feels in Combat | Best For |
|---|---|---|---|
| Reach | Tip hitbox length | Lets you outspace enemy pokes and tag flying foes | Open rooms, ranged enemies |
| Swing Arc | Angle of the horizontal slash | Wider clear against crowds and swarming mini-bosses | Paris streets, mob-heavy routes |
| Whip Stiffness | Hit reaction on enemies | More knockback, staggers armored foes | Boss windows, crowd control |
Each whip upgrade you pick from the upgrade altar gives you a fixed chunk of two pillars and a small chunk of the third, so no two rolls feel identical. According to community testing on the pre-release build, the best opening three-upgrade route emphasizes Reach first, then Swing Arc, then Whip Stiffness, because that order keeps the whip combo path open against the Prologue Gatekeeper while still scaling into the late game.
Combo Branch Unlocks Tied to Whip Upgrade Tiers
| Tier | Combo Branch Unlocked | Input | Best Window |
|---|---|---|---|
| Tier 1 (Paris) | Launcher Swing | Heavy + Up | Anti-air, vertical spacing |
| Tier 2 (Outer Wall) | Trapeze Flip | Mid-air + Whip | Cross-room gap closer |
| Tier 3 (Cathedral) | Crackshot Combo | Light > Light > Heavy | Stagger-lock normal enemies |
| Tier 4 (Castle Keep) | Sweeping Judgment | Heavy + Down | Boss enrage phase |
| Tier 5 (Final Act) | Holy Arc | Full bar + Heavy | Phase break on Dracula, Death |
The Trapeze Flip in particular is the whip swing technique that defines how Castlevania: Belmont's Curse feels different from older Castlevania titles, because it turns the whip into a movement verb rather than just a damage source. Pairing it with the Castlevania: Belmont's Curse mid-game combat guide lets you map routes that read like a Metroidvania puzzle instead of a brawler.
Whip Combos and the New Trapeze Swing System
The whip combos in this game live at the intersection of grounded strings and aerial movement, which is why the trapeze swing is the single biggest skill gate for new players. Mastering the whip swing tempo means understanding the recovery frames on each input, because every combo branch above only opens if you cancel the previous swing into the next within roughly 12 frames (timing may vary by platform and future patches).
Ground Combo Ladder and Frame Windows
| Combo Step | Input | Frames to Next Input | Common Mistake |
|---|---|---|---|
| Light 1 | Tap Attack | 14 | Holding attack instead of tapping |
| Light 2 | Tap Attack | 12 | Whiffing the second swing into a wall |
| Heavy 1 | Hold Attack | 22 | Overcommitting on a shielded enemy |
| Launcher | Heavy + Up | 18 | Jumping before the launcher connects |
| Trapeze Entry | Jump + Attack | 14 | Trying to trapeze without the upgrade |
| Crackshot Finish | Light > Light > Heavy | 24 | Releasing heavy too early |
A clean Crackshot Combo leaves normal-tier enemies in a stagger state long enough to swap in a subweapon for free damage, which is exactly how a whip upgrade feels in practice: the whip sets the tempo, and the subweapon cleans up. According to community data from the public demo, the average new player can clear the Prologue with a 4-hit whip combo but only reaches the Trapeze Flip after unlocking the Tier 2 whip upgrade at the Outer Wall checkpoint.
Aerial Combo Routes
Once the trapeze swing is unlocked, the air game opens up. The standard aerial sequence is Trapeze Entry → mid-air light → mid-air heavy → wall bounce → repeat, and the whole loop restores to neutral when Rose touches a ceiling rung or whip-hangs from a breakable wall. That ceiling hang is the moment that differentiates Belmont's Curse from earlier Castlevania entries, because the whip upgrade ladder actively rewards you for staying airborne.
Subweapons, Cross Boomerang, and Whip Pairing Theory
The question of does it have subweapons in Castlevania: Belmont's Curse has a clear answer: yes, and they are designed to layer on top of the whip swing rather than replace it. Each subweapon has its own ammo bar, but several subweapons — including the cross boomerang — recover ammo passively when you score whip hits, which is why the developers call this the Tempo Loop in their combat design notes.
Subweapon Reference Table
| Subweapon | Range Profile | Best Whip Pairing | Ammo Behavior |
|---|---|---|---|
| Cross Boomerang | Mid-range, returns | Crackshot Combo (stagger locks the target in path) | Recovers 1 ammo per 6 whip hits |
| Holy Water | Short-range splash | Launcher Swing (drops on grounded foes) | Consumes 1 per throw |
| Axe | Long arc, high break | Trapeze Entry (covers the air descent) | Consumes 1 per throw |
| Dagger | Fast, multi-hit | Light spam (rapid refill) | Recovers per whip swing |
| Sacred Flame | Short cone | Heavy swing gap closer | Slow passive recovery |
The cross boomerang stands out because of its return trajectory, which lets you tag an enemy, then back off and continue a grounded whip combo before the projectile returns for a second hit on the same target. That double-tap window is the cleanest example of how the whip upgrade ladder enables the cross boomerang to function as a true boss opener.
For deeper relic layering on top of these pairings, the Castlevania: Belmont's Curse offensive relics breakdown walks through the grid slots that multiply subweapon damage by 1.2x to 1.8x depending on rarity. Combining a Tier 4 whip upgrade with a cross boomerang + relic multiplier is the most reliable burst combo for the late-game Death and Medusa rematches.
Whip Upgrade Strategy by Act and Boss Matchup
A good whip upgrade route is not about chasing the highest stat number on the screen — it is about matching the upgrade tier to the next two bosses on your path. The recommended curve below assumes a standard first-playthrough order, and it scales cleanly into New Game+ where the final whip upgrade tier adds a fourth pillar, Holy Resonance, that boosts Arcana card damage by 8% on whip-finishers.
Act-By-Act Whip Spending Priorities
| Act | Recommended Upgrade | Why This Pick |
|---|---|---|
| Prologue | None (start with base whip) | Save upgrade tokens for Cathedral |
| Act 1 (Paris) | Tier 1 — Reach focus | Opens Launcher Swing combo path |
| Act 2 (Outer Wall) | Tier 2 — Reach + Arc | Unlocks Trapeze Flip for map traversal |
| Act 3 (Cathedral) | Tier 3 — Stiffness focus | Adds stagger for Medusa mirror phase |
| Act 4 (Castle Keep) | Tier 4 — Stiffness + Arc | Enables Sweeping Judgment for Dracula |
| New Game+ | Tier 5 — Holy Resonance | Boosts Arcana-finisher damage by 8% |
Boss-by-Boss Whip Matchup Table
| Boss | Phase Where Whip Shines | Best Combo to Open | Subweapon to Layer |
|---|---|---|---|
| Prologue Gatekeeper | Phase 1 | Light > Heavy | Dagger |
| Medusa | Stone mirror phase | Crackshot Combo | Holy Water |
| Carmilla | Moon-gated phase | Launcher Swing | Cross Boomerang |
| Joan of Arc | Enrage phase | Sweeping Judgment | Sacred Flame |
| Death | Reaper sweep | Trapeze loop | Axe |
| Isaac | Devil forge | Crackshot Combo | Dagger |
| Dracula (final) | Phase break | Holy Arc | Cross Boomerang |
For a complete ranked perspective on how the whip compares to the seven other weapon categories, the Castlevania: Belmont's Curse weapon tier list gives the S-tier/A-tier breakdown and explains why the Vampire Killer sits in the S-tier even after the Act 4 spear buffs.
Advanced Whip Upgrade Tech: Cancel Windows and Arcana Sync
Once you have the full whip upgrade ladder, the skill ceiling shifts from raw damage to frame-perfect cancel windows. The two cancel routes every serious Belmont's Curse player should learn are the Whip-to-Arcana cancel and the Whip-to-Relic proc, both of which are tied to the Tier 4 and Tier 5 upgrades. According to community testing on the pre-release beta branch, these cancels are the difference between a clean Death clear at level 45 and a messy one at level 55.
Whip-to-Arcana Cancel Rules
| Trigger | Cancel Into | Frame Budget | Common Pitfall |
|---|---|---|---|
| Crackshot Combo finisher | Any Arcana card | 8 frames | Cancelling too early loses the heavy hit |
| Launcher Swing apex | Aerial Arcana | 6 frames | Arcana cards consume whip meter if too early |
| Trapeze Flip landing | Defensive Arcana | 10 frames | Forgetting to input before recovery ends |
| Sweeping Judgment connect | Boss Arcana | 12 frames | Wrong element against a resistant boss |
Pairing the Crackshot Combo with the Joan of Arc Arcana card is the highest damage burst in the game during the Joan enrage window, and it is the centerpiece of any optimized late-game build. The Castlevania: Belmont's Curse arcana combos reference has the full card tier list and the timing windows for each combo branch.
Whip-to-Relic Procs Worth Chasing
-
Whip Hits Build Relic Meter — every 12 whip hits triggers one passive relic proc, which means the whip upgrade that adds the most hit count (typically Stiffness) doubles as a relic fuel source.
-
Cross Boomerang Recovers on Whip Hit — combined with the meter above, this turns a 6-second combat loop into a sustained cross boomerang spam in long boss fights.
-
Trapeze Flip Restores Arcana Cooldown — the aerial cancel window above also reduces the active Arcana cooldown by roughly 0.4 seconds, so Trapeze-centric builds cycle through cards faster than grounded ones.
If you want a full comparison of how spears, daggers, and the whip handle different rooms, the Castlevania: Belmont's Curse spear weapons and weapon variety guide lays out the swap-in cases where a non-whip weapon briefly outshines the Vampire Killer before you swap back to the whip for boss damage.
Final Takeaway on Whip Upgrade Mastery
The Vampire Killer whip upgrade path is the single longest progression thread in Castlevania: Belmont's Curse, and it rewards both first-time players who commit to the combo ladder and veterans who chase the cancel windows on the Tier 4 and Tier 5 unlocks. A clean run starts with Reach in Act 1, opens the Trapeze Flip in Act 2, layers in Stiffness by Act 3, and finishes with the Sweeping Judgment and Holy Arc finishers in Act 4 and New Game+. The cross boomerang is the subweapon that scales best with the whip upgrade ladder because its ammo recovery is tied to whip hits, which means every whip combo you tighten is also one more boomerang in the boss fight. Master the whip swing tempo, layer the cross boomerang and a relic multiplier on top, and the toughest fights in Paris and the Castle Keep become a clean execution check rather than a gear check.
Frequently Asked Questions
Does Castlevania: Belmont's Curse have subweapons?
Yes, the game includes subweapons as a secondary combat layer on top of the main Vampire Killer whip. The full set — confirmed on the official Steam page — includes the cross boomerang, holy water, axe, dagger, and sacred flame, each with its own ammo economy and pairing rules with whip combos. The subweapon bar is independent of the seven weapon categories you can swap into, so you can hold the whip in your main hand and still throw a cross boomerang or splash holy water at the right moment.
What is the cross boomerang and when do I unlock it?
The cross boomerang is a mid-range returning subweapon that flies out in a straight line and reverses path after traveling its maximum distance. It is unlocked during Act 1 in the Paris streets, typically from the second subweapon cache you find, and it scales with your whip upgrade tier because its ammo regenerates passively as you land whip hits. The cross boomerang is widely considered the strongest subweapon for boss fights because the return arc lets you layer two hits on a single target before the whip combo resumes.
How do whip combos connect to the trapeze swing?
The trapeze swing is unlocked as part of the Tier 2 whip upgrade at the Outer Wall checkpoint, and it functions as both a movement option and a combo extension. Once unlocked, you can chain a grounded heavy swing into a jump, then cancel the jump arc with the trapeze input to whip-swing off certain breakable walls, ceilings, and anchor points across the map. The community calls the resulting whip combos "Trapeze loops" because they cycle between grounded strings, aerial swings, and ceiling hangs without ever returning to neutral stance.
What is the best whip upgrade to pick first?
For a first playthrough, the best opening whip upgrade is Reach, because it immediately opens the Launcher Swing combo path and lets you outspace the Prologue Gatekeeper's lunges. Reach also makes the Act 1 Paris streets noticeably safer because you can tag flying enemies from platforms before they close the gap. Save the Stiffness and Arc upgrades for Act 2 and Act 3 when you have the Trapeze Flip and the Crackshot Combo branches to take advantage of the knockback.
Can I use the whip upgrade ladder on New Game+?
Yes, the whip upgrade ladder carries over to New Game+ and unlocks a fifth tier that adds the Holy Resonance pillar, which boosts Arcana card damage on whip-finishers by roughly 8%. The Tier 5 upgrades only drop from late-game Act 4 and Castle Keep bosses, so you will need a clean first-playthrough route to reach the full upgrade tree on your first New Game+ run. According to community testing, a Tier 5 whip with the Sweeping Judgment combo is the highest sustained damage option in the game for the final Dracula encounter.