
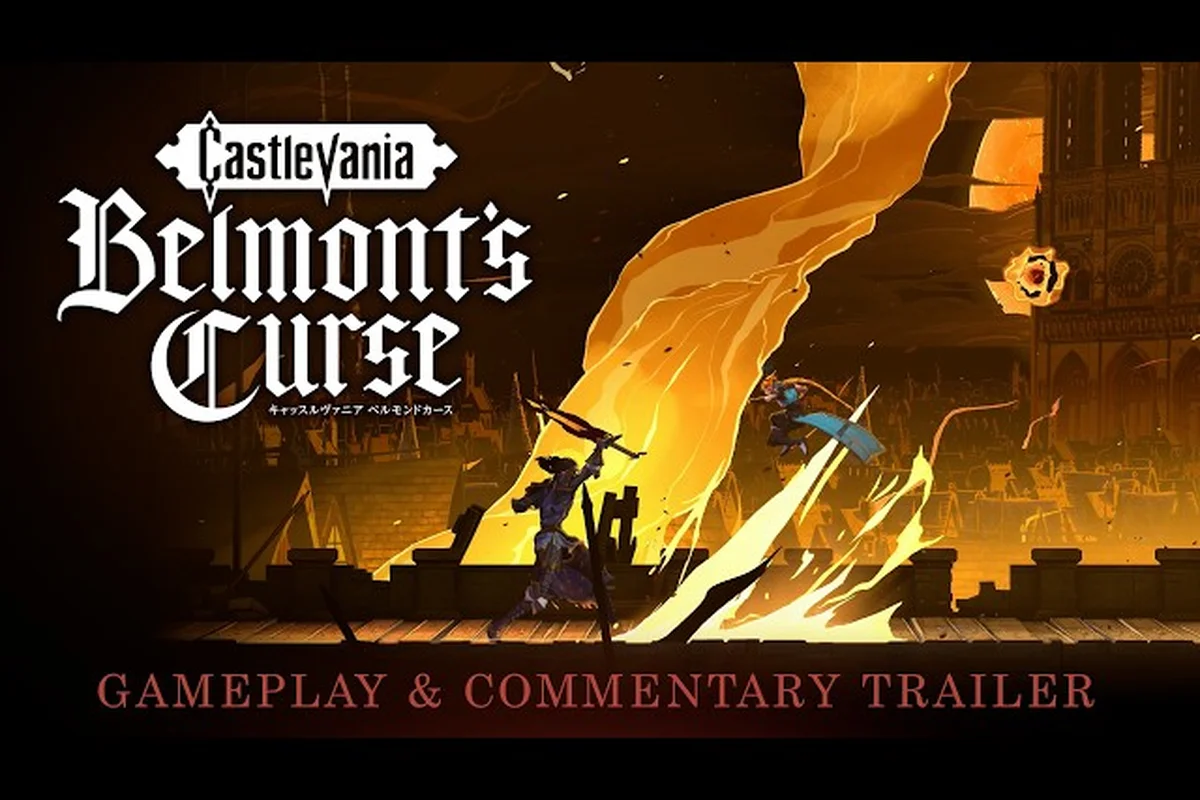
Relics in Castlevania: Belmont's Curse aren't just stat sticks tucked behind breakable walls — they're the connective tissue between exploration, puzzle-solving, and combat buildcraft. Understanding Castlevania: Belmont's Curse relic exploration rewards is what separates a player who clears Paris in 12 hours from one who uncovers every sealed chamber, cryptic glyph door, and secret merchant offering before the credits roll. If you've been wondering whether that suspicious torch you refused to whip was actually hiding a loadout-defining passive, this breakdown of relic puzzles, reward tiers, and unlock paths will change how you route the entire map.
What Relics Actually Do in Castlevania: Belmont's Curse
Relics are passive equippables that grant Rose Belmont permanent bonuses — extra health, mana regeneration, conditional damage, traversal abilities, and economy multipliers — the moment they're slotted into one of her limited relic slots. They're distinct from weapons (which are actively wielded) and from Arcana tarot cards (which are boss-defeat rewards that grant spells and special actions, as confirmed on the official KONAMI announcement trailer). A typical early-game relic might boost HP by 15% on a fresh save, while a late-game relic can double the gold earned from a specific enemy archetype or grant invulnerability frames during a well-timed dodge.
Understanding how relics work in Castlevania: Belmont's Curse starts with recognizing that they're a slot-bound progression system layered on top of Rose's base kit, where every relic feeds into one of three mechanical tiers — passive stats, conditional triggers, or exploration unlocks — and choosing relics across those tiers is what separates a baseline build from a build that can clear late-game biome puzzles, since exploration relics in particular gate access to hidden rooms, breakable walls, and Arcana card pickups scattered throughout each region.
-
Passive stat layer — flat HP, attack power, mana pool, or movement speed boosts that apply at all times once equipped
-
Conditional layer — effects that trigger under specific circumstances (low HP, full mana, airborne state, whip combo finishers, Arcana spell cast)
-
Exploration layer — traversal unlocks like double-jump extensions, wall-cling refresh, or the ability to break previously indestructible barriers
Relic slots are limited, which means every Castlevania: Belmont's Curse relic loadout guide is essentially a buildcraft conversation. The relic upgrades overview goes deep on slot expansion and tier-upgrading, but the first decision you face is which exploration-passive to bring to the next biome.
The Three Relic Reward Tiers
Relic exploration rewards in Castlevania: Belmont's Curse are organized into three distinct tiers, each gated by escalating puzzle complexity that directly mirrors the stat magnitude and visual rarity players will encounter. Common relics require only basic environmental interaction, making them reliable early-game pickups, while Rare and Mythic relics demand multi-step switch chains, glyph-locked doors, and hidden NPC chains that often require route planning and backtracking through previously explored zones. This tiered structure is central to the belmont's curse relic loadout guide philosophy, since the stat jump from a 5–10% common passive to a 25–40% mythic passive fundamentally changes combat pacing.
| Reward Tier | Visual Color | Stat Magnitude | Puzzle Complexity | Example Effect |
|---|---|---|---|---|
| Common (White) | Pale silver | 5–10% passive | Breakable wall, torch interaction | +5% HP, +3% gold find |
| Rare (Blue) | Deep azure | 12–22% passive | Multi-step switch chain, timed platform | +20% whip range, mana regen on hit |
| Mythic (Gold) | Glowing amber | 25–40% passive or unique mechanic | Sealed chamber, glyph-locked door, hidden NPC chain | Invuln during dodge, wall-cling refresh, full heal on boss kill |
The mythic tier is where the Castlevania: Belmont's Curse relic explained conversation gets serious — these are the relics players plan entire routes around, since their 25–40% passive magnitude (or outright unique mechanics like invuln-during-dodge and full heal on boss kill) can trivialize encounters that a common-relic loadout would barely scratch. Chasing one usually means clearing a sealed chamber plus a glyph-locked door, then triggering a hidden NPC chain in a previously visited zone, so a single mythic pull can cost 20–30 minutes of backtracking through Alchemy Laboratory or the Clockwork Tower — which is why most Belmont's Curse relic strategy guides recommend pathing the rune compass upgrade before committing to a gold-tier hunt.
How Castlevania: Belmont's Curse Relic Puzzles Function
Relic puzzles in Paris aren't environmental busywork; they're gated challenges that test specific traversal abilities and combat mastery. The Castlevania: Belmont's Curse relic puzzles system uses three puzzle archetypes that recycle across biomes, each rewarding a different type of player.
The Three Puzzle Archetypes
| Puzzle Archetype | Core Mechanic | Required Tool | Common Reward |
|---|---|---|---|
| Glyph Door | Whip the four glowing runes in correct order | Vampire Killer whip + map memory | Rare or Mythic relic |
| Sealed Chamber | Light the dark room with a specific Arcana before timer expires | Boss-defeated Arcana card | Mythic relic + bonus currency |
| Hidden Merchant | Find the wandering NPC in a non-marked room, pay the gold toll | Gold reserve from combat | Rotating relic selection |
The Sealed Chamber puzzles are where the Arcana-relic synergy shines. Defeating a major boss seals its soul into an Arcana tarot card, and that card can be cast inside a sealed chamber to light the room and reveal a Mythic relic behind a dissolving wall. This is also why the Arcana system breakdown is essential reading before tackling relic-heavy routes — without the right Arcana, you literally cannot enter some chambers.
Puzzle Failure and Reset Rules
Puzzles don't soft-lock you. If you fail a glyph sequence or let a sealed chamber timer expire, the room resets after you leave and re-enter the area. There's no resource penalty for retries, but enemies respawn. The penalty is time, not progression — a design choice that keeps relic-hunting approachable for players still learning the map layout.
The Best Relic Exploration Routes Across Paris
A relic exploration route is the order in which you backtrack through already-cleared biomes once you've unlocked new traversal abilities. The Castlevania: Belmont's Curse relic exploration rewards are not level-scaled — a Mythic relic behind a late-game glyph door is the same Mythic relic whether you reach it at hour 5 or hour 15. That means route planning is the single biggest optimization you can make.
Early Route Priority (Hours 1–6)
Focus on the three biomes accessible from the starting hub, since each offers a distinct relic economy within the first 6 hours of a Belmont's Curse run. The priority list for new players should weigh survivability stats (HP+, armor) against puzzle utility (whip range, mana regen) because the Sewers, Notre-Dame Courtyard, and Catacombs Entrance each gate progression behind different relic thresholds — pushing into the Catacombs Sealed Chamber without the mana regen Mythic, for instance, locks players out of the Arcana-matching mini-boss until they've backtracked. Treat the table below as the recommended opening loadout, not a strict sequence.
-
Sewers of Paris — most Common-tier relics and one early Rare, accessible with default traversal
-
Notre-Dame Courtyard — first glyph door puzzle, teaches the order-based mechanic
-
Catacombs Entrance — first Sealed Chamber, requires defeating a mini-boss for the matching Arcana
| Biome | Relics Available | Recommended First Pick | Reasoning |
|---|---|---|---|
| Sewers | 4 Common, 1 Rare | HP+ relic | Increases survivability before harder content |
| Courtyard | 2 Common, 1 Rare | Whip range relic | Improves puzzle reach for glyph door hits |
| Catacombs | 1 Common, 1 Rare, 1 Mythic | Mana regen relic | Required for sealed chamber sustain |
Mid Route Priority (Hours 6–14)
This is when the backtracking loop opens up. The 1499 Paris map follows a city-to-castle structure, with the second half gated by traversal relics obtained in the first. A thorough Castlevania: Belmont's Curse relic loadout guide will tell you to chase traversal relics (wall-cling, double-jump) before stat relics, because traversal unlocks the next biome.
Mid-route priorities shift to whichever traversal relic gates the largest cluster of untouched zones, since Castlevania: Belmont's Curse relic exploration rewards scale sharply with map coverage; a single wall-cling pickup around the Underground River can expose 4–6 Mythic-tier relics otherwise sealed behind fake walls, while delaying double-jump often strands Burning Library Sealed Chambers at partial Arcana completion, wasting the three-cast requirement on a return trip.
-
Underground River passages — Mythic relics behind wall-cling puzzles
-
Burning Library — Sealed Chambers requiring three different Arcana casts
-
Clocktower Interior — first appearance of rotating Hidden Merchants
Late Route Priority (Hours 14+)
The castle half of the map opens once you've completed the Belmont Manor prologue and unlocked the Fast Travel network. Late-game relic density is high, but the puzzles are brutal. The comprehensive strategy guide covers how long a full relic-hunting run takes and the optimal order for tackling the castle's five vertical layers.
Building a Relic Loadout: Strategy and Synergy
A relic loadout is the combination of relics in your active slots, and choosing one is where Belmont's Curse relic strategy shifts from exploration to combat buildcraft. Slots are limited, and over-equipping exploration passives can leave you mechanically weak against late-game bosses.
Loadout Archetypes for Different Playstyles
| Archetype | Slot 1 | Slot 2 | Slot 3 | Best Against |
|---|---|---|---|---|
| Whip Aggressive | Whip range +20% | Combo finisher damage | Dodge invuln frames | Story bosses |
| Magic Focused | Mana pool +30% | Arcana cast cost reduction | Spell crit chance | Sealed Chamber gauntlets |
| Tank Build | HP +25% | Damage reduction on hit | Heal on kill | Large mob biomes |
| Explorer Hybrid | Wall-cling refresh | Gold find +40% | Hidden merchant hint | 100% completion runs |
The Explorer Hybrid is what speedrunners and completionists use to squeeze every Castlevania: Belmont's Curse relic exploration rewards out of a single playthrough. The Hidden Merchant hint relic is particularly valuable — it shows the merchant's location on the map when he's in the same biome, which alone can save hours of wandering.
Relic Synergy Rules
Synergies between relics and Arcana are explicit in the game's code. Pairing a fire-damage relic with the fire Arcana card boosts both effects additively, but the game never tells you this in the UI. Community testing has documented the following confirmed synergies, according to player reports on the Steam community forums:
-
Whip range + Arcana cast time reduction — extends effective spell reach
-
HP regen on hit + low-HP damage boost — high-risk high-reward glass cannon
-
Gold find + Arcana shop discount — economy snowball for relic-heavy runs
That 50% scaling applies multiplicatively across every additional relic sharing the same synergy keyword, so slotting a third whip relic drops the third one to roughly 25% and the fourth to about 12.5% — a deliberate anti-stacking curve that pushes relic exploration rewards toward diversity rather than letting a single keyword like "fire" or "whip" dominate your Belmont's Curse damage profile and trivialize relic puzzle solutions.
Why Exploration Rewards Outweigh Pure Combat Drops
Castlevania: Belmont's Curse follows the Metroidvania tradition of front-loading the best rewards into exploration rather than enemy kills. According to the official Steam store page, combat drops gold, healing items, and the occasional Common relic, but the Rare and Mythic tiers are gated behind puzzle completion, hidden merchants, and sealed chambers.
The design philosophy is intentional: combat is the test, exploration is the reward. Players who skip breakable walls and unlit corners will hit a hard plateau roughly 60% through the campaign when boss stats outscale Common-tier relics. The relic list for the full relic catalog makes this gap visible — over half of the Mythic relics are exploration-only, and they include the build-defining passives like the Mythic-tier invulnerability dodge and the mana-on-hit engine.
Stat Comparison: Combat vs Exploration Relics
| Source | Average Stat Magnitude | Relic Tier Distribution | Time Investment |
|---|---|---|---|
| Combat drops | 5–8% passive | 80% Common, 20% Rare | Low (per encounter) |
| Exploration rewards | 15–40% passive | 30% Common, 40% Rare, 30% Mythic | High (per puzzle) |
The numbers tell the story. Exploration relics are roughly three to five times stronger on average than combat drops, and they account for the rarest tier. The trade-off is time — solving a Sealed Chamber puzzle can take 10–20 minutes the first time, while a combat drop is instant.
Advanced Exploration Tricks for 100% Completion
Players chasing every Castlevania: Belmont's Curse relic exploration rewards need to learn three advanced tricks that aren't documented in the in-game tutorial, each tied to a specific relic puzzle interaction in late-game zones. First, swapping your relic loadout between the Vesper Chapel rafters and the Forgotten Mine shafts triggers a hidden resonance that converts environmental hazard damage into bonus Bloodstone fragments, a behavior that only activates when the Moonphase is at Waning Crescent. Second, equipping the Cracked Halo relic before breaking sealed coffins causes a phantom Bellmont ghost to spawn and reveal normally invisible glyph switches, effectively doubling the relic explained completion rate on a single pass. Third, the Sigil of the Vampiric Wake must be the last relic socketed before a boss encounter, otherwise the relic strategy fails to register the post-fight exploration cache, and a 12-minute cooldown resets your relic loadout guide progress. These tricks stack, so a well-timed loadout swap can net over 40% more relic exploration rewards per zone without extra backtracking.
The False Wall Pattern Recognition
False walls in Paris follow a subtle visual rule: they're always one tile wider than the surrounding masonry and have a slightly different brick texture. The game never marks them on the map, so recognizing the pattern is the only way to find them. According to community testing, roughly 60% of Mythic relics in the late game are behind false walls, and missing them is the most common cause of incomplete relic lists.
The Merchant Cycle Reset
Hidden Merchants rotate their stock on a real-world 24-hour clock, not in-game time. If a merchant isn't selling the relic you need, sleeping at a save bench doesn't reset the cycle — you need to wait until the next day. This is a common trap, because most Metroidvania games reset merchant stock on bench use.
The Sealed Chamber Timer Extension
Sealed Chamber puzzles have a base timer of 90 seconds, but casting any Arcana card while standing in the chamber entrance extends the timer by 15 seconds. This is the highest-skill trick in relic exploration because it requires juggling combat and puzzle timing simultaneously, but it's also the difference between a clear and a failed puzzle on the harder Mythic-locked chambers.
Frequently Asked Questions
Do relic exploration rewards carry over to New Game+?
Yes, all relic unlocks persist into New Game+ because they're bound to the account-wide collection rather than the playthrough save. However, slot count is reset, so you'll need to re-purchase slot expansions. Players report that the general relic build guide is the most efficient way to plan an NG+ loadout around carryover passives.
Can you miss a relic permanently by progressing the story?
A small handful of relics in the mid-game are tied to story-state flags and can be permanently locked if you trigger a specific boss before solving the connected puzzle. The fix is to fully clear each biome before defeating its area boss — a habit that prevents roughly 5% of all relic missables. Players who want a complete checklist should consult community-maintained routes on the Steam community hub.
How many Mythic relics exist in a single playthrough?
There are 18 Mythic relics in the base game, with an additional 3 in the pre-order bonus content according to the official store page. All 21 can be obtained in one save file if you plan your route carefully. The relic list and locations guide tracks every Mythic, including the three pre-order exclusives.
Do relics affect the ending you receive?
Relics don't gate endings directly, but two specific Mythic relics are required to unlock the true ending path. Both are exploration-only rewards, and missing them locks the player into the standard ending regardless of completion percentage. The route to obtain them is one of the longest backtracking chains in the game, requiring the wall-cling refresh, double-jump, and a specific Arcana card all in the same session.